Step-by-step guide to planting root celery for seedlings: from preparation to transplanting
The cultivation of root celery in Russia is not as popular as in European countries. The inhabitants of our country prefer the leafy variety because of the short growing season and ease of caring for greens. Root celery is more difficult to care for. To obtain rounded and large root crops, the seeds are sown for seedlings in February, and only in May the seedlings are transferred to a permanent place in the garden.
We have prepared a step by step guide for planting root celery for seedlings and caring for the plant after planting.
The content of the article
Root celery
Root celery is a biennial plant from the Umbrella family native to the Mediterranean countries. In ancient times, the Egyptians and Greeks used it to treat various diseases of the internal organs. The first mention of celery as a food product dates back to the early 17th century. Since then, the root crop has not lost its popularity in European countries. Over time, culture has won the love of our country's consumers.
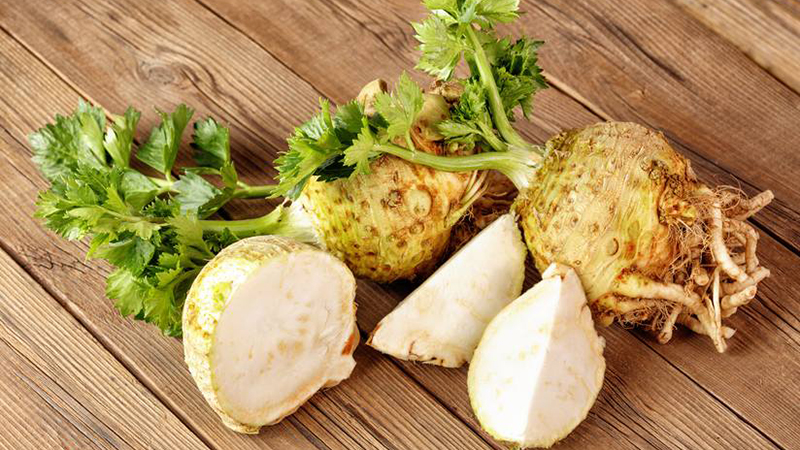
Leaves with petioles up to 50 cm have a three-bladed shape. Growth and development rates are similar to those of carrots, but with a longer growing season - 180-200 days.
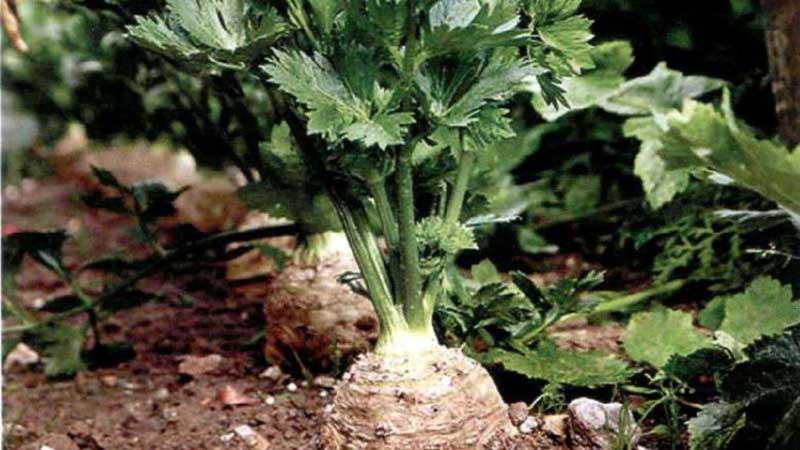
In the first year, a large rounded or flat-rounded root crop weighing up to 600 g and a diameter of 5-12 cm is formed. Its color is gray-white. In the second year, a flower stem, up to 1 m high, appears. Small umbrellas of inflorescences are located on it. Seeds are small, gray-brown in color. Seedlings appear 15-20 days after germination.
Reference. Root vegetables have a thin skin that is peeled off before slicing or freezing. Celery is used to prepare aromatic vitamin salads, baked in the oven, stewed with other vegetables, and added to first courses.
Sowing dates
When choosing a forty planting of celery seeds for seedlings, it is recommended to focus on the weather conditions of the region. On average, pre-sowing preparation begins 60-80 days before the transfer of seedlings to open ground.
In the northern regions, sowing is carried out in the last days of January - the first decade of February. In the central regions, sowing takes place throughout February. In the south of the country, the best period is mid-February - early March.
Sowing dates for root celery in moonlight calendar in 2020:
- February: 6, 7;
- March: 6, 7;
- April: 2, 3, 30;
- May: 1, 27, 28.
Features of growing seedlings
Root celery seeds are characterized by a rapid loss of germination, and the long growing season forces gardeners to use the seedling method for cultivation culture.
To obtain strong and healthy seedlings of root celery, preliminary awakening and germination of seeds are carried out, a nutritious soil mixture is prepared, after the appearance of leaves, the seedlings are seated in separate containers. Care consists in maintaining optimal soil moisture, observing light and temperature conditions and applying fertilizers.
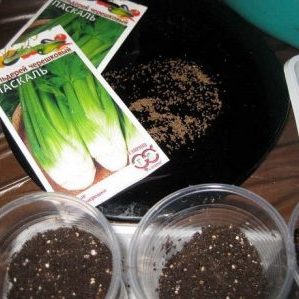
Seeds
Root celery seeds are very capricious and quickly lose their germination. Gardeners advise buying fresh seed or harvesting your own every year.
The outer shell of the seeds is impregnated with essential oils that protect against adverse conditions, but impede germination. To wash off the volatile substances, the seeds are soaked in warm water for 48 hours, then germinated in damp gauze in a dark place. The water in the saucer is changed every three days.After the emergence of seedlings, the seeds are sown for seedlings.
The second way to prepare seeds for growing seedlings is stratification. The material is wrapped in a damp cloth and left at room temperature for a week. Then the seeds are placed in the refrigerator for two weeks, creating natural conditions favorable for germination, when the seeds overwinter in the ground, and spring together in spring.
The soil
Light, but nutritious soil is suitable for growing celery seedlings:
- turf, sand, peat, sawdust, ground eggshell in equal parts;
- 3 parts peat, 1 part vermiculite, 1 part humus;
- biohumus and sand in equal proportions.
In horticultural stores, there is a ready-made nutrient substrate for sale with a full range of nutrients.
Before sowing, the soil is disinfected in the oven, microwave, steam. Considering that when heated, not only pathogenic, but also useful microflora perishes, gardeners advise spilling the soil with a strong solution of potassium permanganate, "Baikal-M" or "Shining".
In every 10 kg of soil add 200 g of wood ash and 20 g of urea.
Container and place of cultivation
Root celery seedlings are grown in common boxes or plastic trays with subsequent transplantation into individual plastic cups with a volume of at least 300 ml. Before use, containers are washed and disinfected with a solution of potassium permanganate or copper sulfate.
The place for growing seedlings is chosen on the south side of the house. Daylight hours are 12-16 hours. If necessary, the sprouts are illuminated with a lamp.
Seed sowing rules
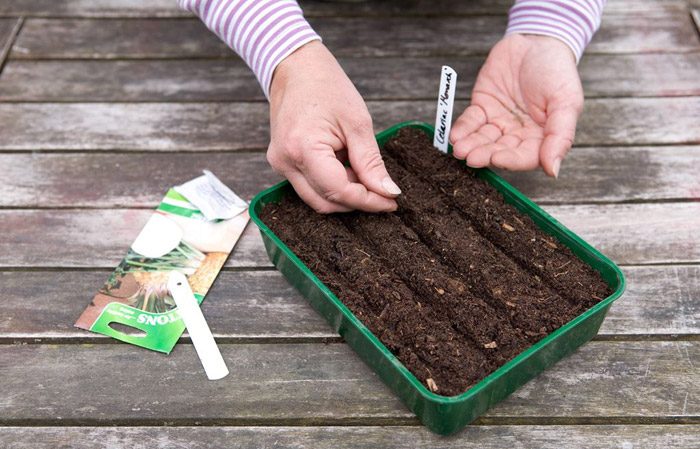
Before sowing, the soil is spilled with clean warm water and poured into boxes. With a toothpick, make 0.5 cm depressions, where the seeds are laid. Water the soil again. As it penetrates the ground, it will pull the seeds down. Instead of water, gardeners are advised to use snow, creating natural conditions.
There is a relatively new and original way of growing celery seedlings in snails. This method significantly saves space in the house. To curl the snail, use a backing for laying the laminate and strong elastic bands for fixing.
The substrate is disinfected with a solution of potassium permanganate, a tape 10 cm wide is cut out, ground is poured on top with a layer of 1 cm and a length of 20 cm.The prepared seeds are spread with tweezers with an interval of 2 cm. 2 cm retreat from the edges of the film.Then the tape begins to gently fold. A layer of earth is poured over the remaining area and seeds are spread. The snail is rolled up to the end, secured with elastic bands and placed in wide trays in several pieces so that the seeds are on top.
Two weeks after sowing, prophylactic spraying with "Trichodermin" (10 mg per 1 sq. M) is carried out.
Seedling care
Until the emergence of seedlings, containers with seedlings are kept under a film cover away from direct sunlight. The optimum air temperature for pecking is + 20 ... + 22 ° С. As soon as the first sprouts appear above the surface, the containers are taken out onto an illuminated windowsill.
 After the appearance of the first leaves, the air temperature is lowered to + 12 ... + 16 ° С, and after 10 days it is increased to + 20 ... + 25 ° С.
Seedlings with 3-4 leaves are planted in individual glasses, choosing the strongest shoots. The bottom of the containers is pierced with an awl to drain water and filled with the same soil that was used for sowing.
With a teaspoon or a wooden stick, they form indentations of 2-2.5 cm, which are abundantly watered with a syringe. The seedlings are carefully dug up with a spoon, trying not to touch the roots, and transferred to a new place. Soil is poured on top, leaving the cotyledon leaves on the surface. The seedlings are watered with clean water mixed with the Gumi fertilizer (6 drops per 1 liter).
After picking, the seedlings are kept in the shade for 2-3 days, then taken out on a sunny windowsill. The optimum air temperature for the successful development of seedlings is + 18 ... + 22 ° С.
Further care of seedlings includes:
- keeping the soil moist;
- preventive watering with "Fitosporin" solution;
- surface loosening of the soil to improve air penetration to the roots;
- feeding every two weeks with chicken droppings (2 tsp for 5 l of water) and alternation with "Nitrofoska" (2 tsp for 5 l);
- taking out the grown seedlings to fresh air three weeks before transplanting into the garden.
Landing in open ground
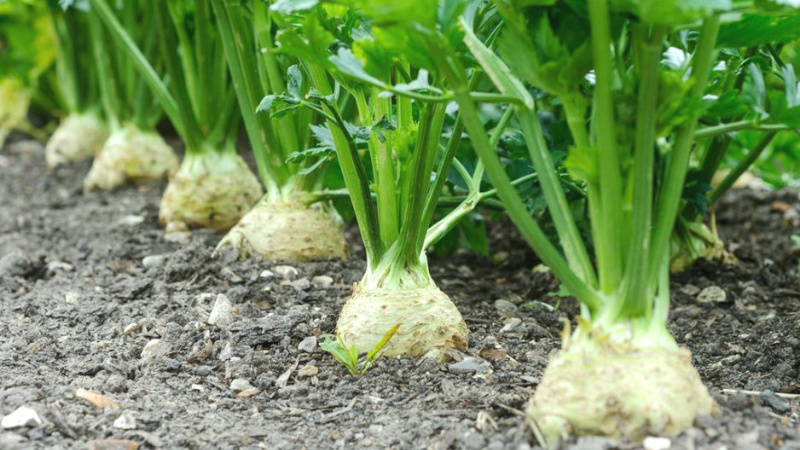
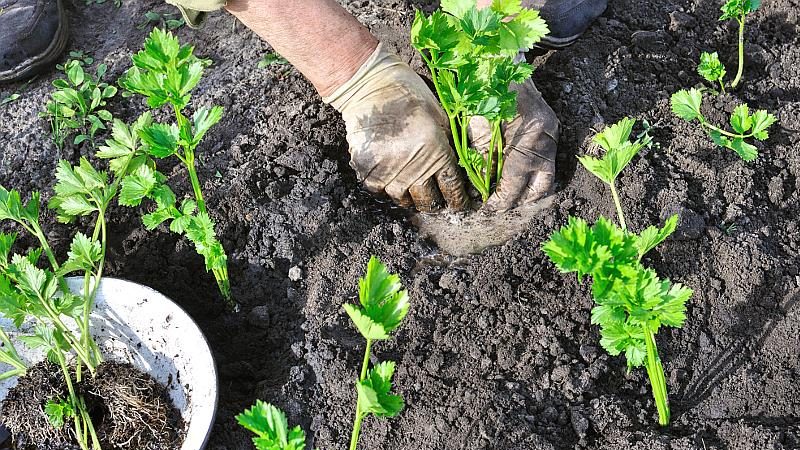
When the seedlings reach 25 cm in height, they are transferred to a permanent place. This usually occurs in the third decade of May.
Fertile light sandy loam soil and open, sunny areas are best suited for cultivating root celery. In the fall, the selected area is dug up and humus is introduced - 10 liters per 1 sq. m.
In the spring, they re-dig to the depth of the shovel bayonet (about 25-30 cm) and shed the soil with a strong solution of potassium permanganate or copper sulfate.
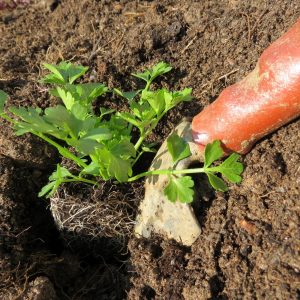
Seedlings are planted to a depth of 10 cm. The planting scheme is 30 × 40 cm. The growth point is not deepened so as not to provoke the growth of adventitious roots.
Landing is carried out on a cloudy day. In case of risk of night frost, the seedlings are covered with plastic bottles cut in half or with black agrofibre.
Reference. Root celery leaves are edible, but it is not recommended to cut them before September. Otherwise, the root crop will not receive enough nutrients for harmonious development.
Features of cultivation
Caring for root celery in soil includes the following procedures:
- Timely watering and maintaining optimal soil moisture. Enough once a week in temperate climates. In dry weather, the frequency of watering is increased to 3-4 times a week. Root crops love water, with a lack of moisture, they slow down development and dry out. The soil is kept slightly moist, avoiding drying out and waterlogging. An excess of moisture leads to decay of the root, and a deficiency leads to difficulty in feeding the plant. Watering is carried out exclusively at the root.
- Mulching the plot with hay, straw, sawdust helps to retain moisture in the soil, and stops the growth of weeds.
- Loosening and weeding of the beds is carried out with a frequency of every 10-12 days.
- Root celery is fed with chicken manure (solution 1:15) and superphosphate (25 g per 10 l), alternating minerals and organic matter. Pale withered leaves are treated with a urea solution (10 g per 2 l of water). As soon as the root crop begins to form, the plant is watered with a boric acid solution.
- To increase the yield, the plant is fed with nettle infusion and mullein. At the first symptoms of weakening, monophosphate and nitrogen are introduced. When applying dressings, they observe the norm - an excess leads to scab and septoria.
- It is not recommended to cut the foliage - the plant weakens and loses its ability to form a root crop. Instead of a rounded large root crop, there is a risk of digging a loofah out of the roots.
- High hilling is not carried out due to the active growth of lateral roots.
- As soon as the root crop appears on the surface, the soil is shoveled and the root processes are carefully cleaned off. This allows the celery to form into a round shape.
- The crop is harvested after the foliage closes and dries.
Read also:
Conclusion
In the question of when to plant root celery for seedlings, experienced gardeners recommend focusing on weather conditions and the lunar calendar. A feature of this culture is a long growing season. Therefore, it is important to have time to grow strong seedlings and plant them in open ground before summer.
Subject to the rules of agricultural technology (proper watering, trimming excess roots, fertilizing with minerals and organic matter) in September, it will be possible to collect large, rounded roots.